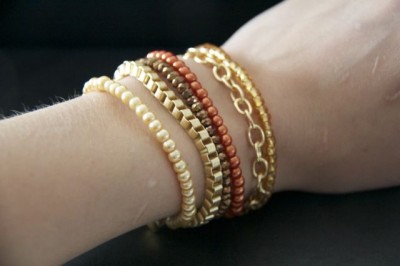
Since I have been sick for the last week I am behind on both not publishing anything last week as well as not having anything for today. So I am going to be showing you how to create this lovely bracelet, a tutorial I originally posted here earlier! Please note this tutorial has not been altered, so it is written as I wrote in originally. I hope you enjoy it.
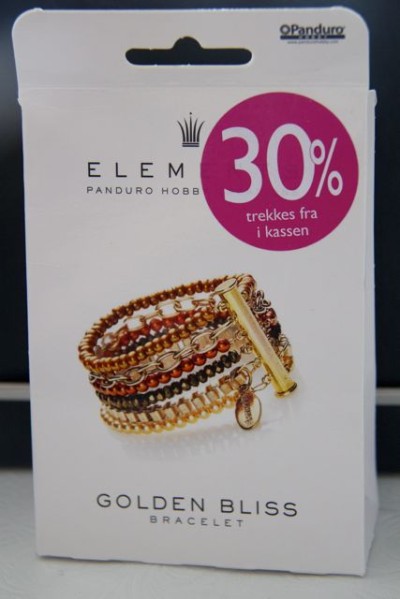
I am in l-o-v-e and it was super easy to make! It all started when my sister and I went shopping a little bit over a week ago. We went into the hobby store and I found this amazing DIY bracelet that I knew I wanted to make (and it was 30% off!).
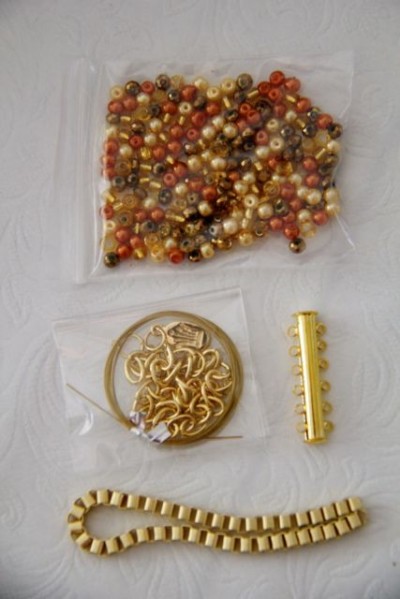
The packet included four different kinds of beads, two types of chains, wire and a magnetic clasp.
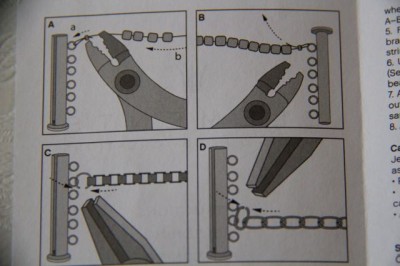
Before I start the tutorial, here is an image from the instructions showing how to thread the different wire and chains.
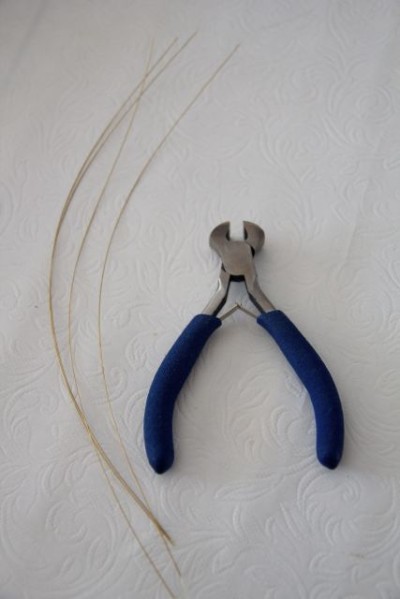
1. Divide the jewellery wire into four pieces of equal length, one for each bead string.
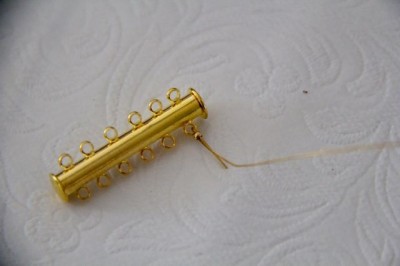
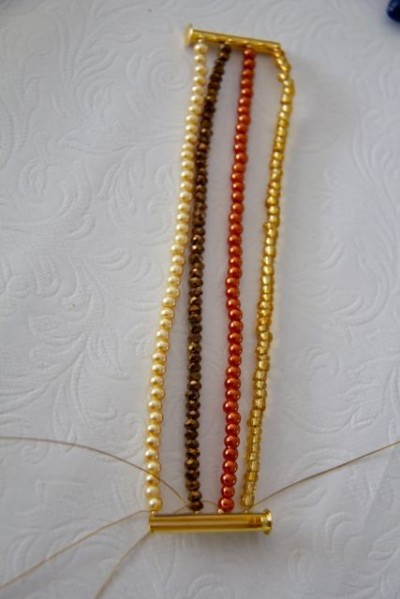
2. Thread a crimp onto a piece of wire and thread the wire though one of the eyelets on the clasp component. Thread the wire back through the crimp and close it with pliers. (see image A.)
I decided to do this really simple and start with the one on top.
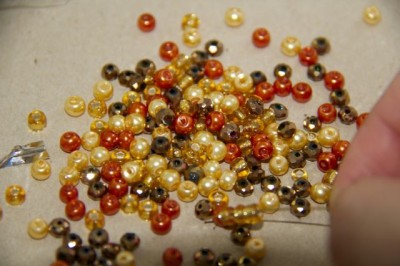
3. Add the beads as seen in the picture or however you like. Reduce or increase the number of beads so that the bracelet is the desired length. (See image B.)
This was so simple. I just used the wire as a needle and threaded the beads on. However I was a bit unsure on how long I wanted it to be.
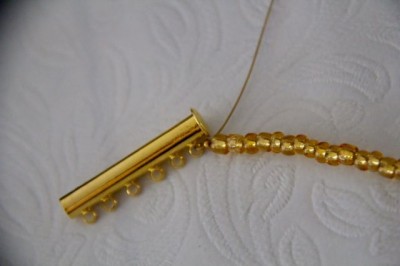
4. Finish the first bead string by threading another crimp onto the wire, then threading the wire through the eyelet in the other clasp component. (See image B.) Make sure to work with parallel eyelets when adding the clasp components and bead strings. (See image A-B.)
This is basically just going the same as step two. However I was so unsure of my desired length that I decided to not cut the extra wire straight away.
5. Follow steps 2-4 to make the other bead strings. Laying the bracelet on a flat surface will make it easier to ensure the bead strings are of equal lengths.
This is a touch one. I had to add extra beads to two, then remove a bead from one of those. I decided to go from top to bottom when creating the beads, however next time I will probably start in the middle and work my way outwards (number 2-3-1-4)
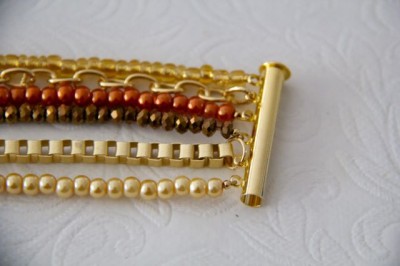
6. Use jump rings to attach the square chain to the clasp pieces. (See image C.) If necessary cut the chain to the same length as the bead strings.
I didn’t actually cut the chain, but I opened one of the pieces and removed it and a few other pieces.
7. Attach the other chain to the clasp pieces by opening/closing its outermost eyelets with two flat-nosed pliers. (See image D.) If necessary cut the chain to the same length as the bead strings.
Again, I didn’t cut, but removed several pieces by opening an eyelet.
Then its ready to wear and you will look fabulous!




Very Pretty! Great photos too!
Thank you so much 🙂
LOVE IT!!! What a gorgeous bracelet!!!
Thanks for sharing at The DIY Dreamer… From Dream to Reality! Looking forward to seeing what you have been up to tomorrow evening!
Thank you for stopping by 🙂 I love your link party 🙂
CONGRATS!!
You have been featured at The DIY Dreamer! YAY! Come on over and grab your featured button, you deserve it!
http://thediydreamer.com/from-dream-to-reality/rustic-features-70/
Thank you so much! So exciting!!
This is so darling! Congratulations this project is being featured tonight on Dandelion Wishes Wednesday! Come on by and grab a featured button 🙂
Thank you so much! This is super exciting! I love that you have started having link partied on your blog 🙂