“Why should you never iron a four-leaf clover? You don’t want to press your luck!”
~Daryl Stout
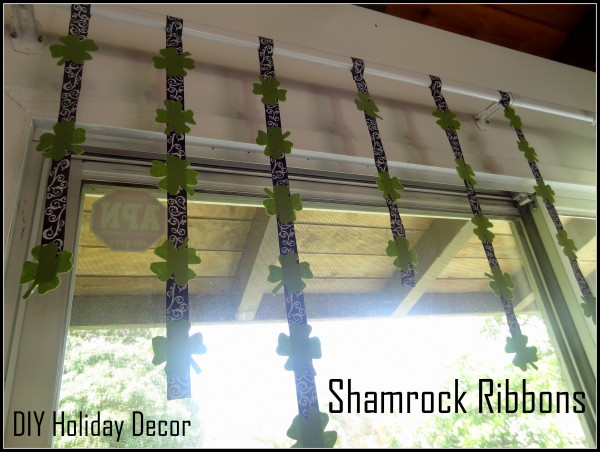
Lucky for us, this craft does not requiring pressing, sewing, or sweat. I wanted to come up with a cute decor idea to display in our home for St. Patrick’s Day, and with a little ribbon , felt, glue, and a few hours, Shamrock Ribbons were born!
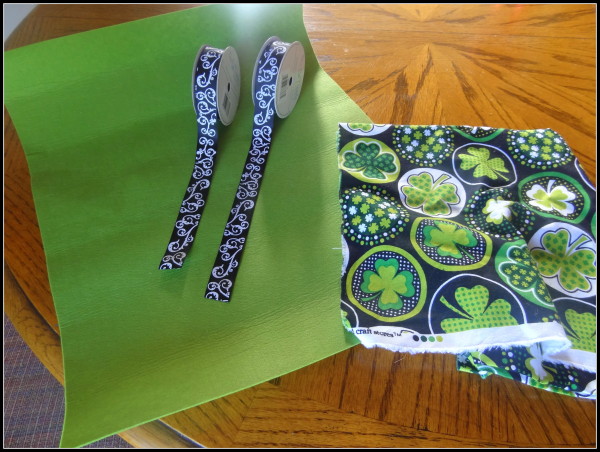
What you will need for the shamrock ribbon project:
- 2 spools of decorative ribbon, each 3 yds in length (total: 6 yds)
- 1 sheet of medium density felt in green
- a hot glue gun
- a shamrock image to trace, or perhaps you have master artistry skills? I traced;)
- straight pins or safety pins to clip your finished ribbons up with
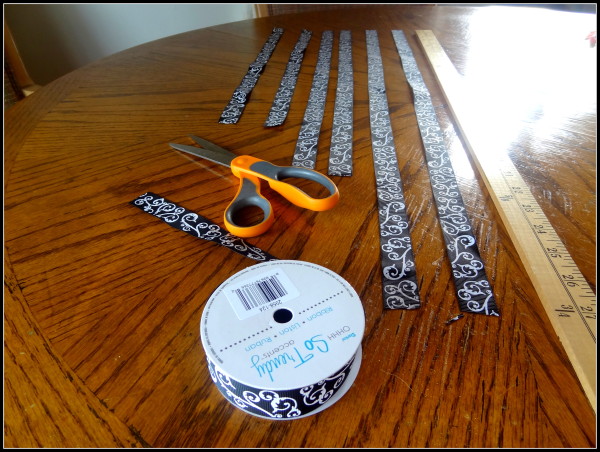
After you collect all of your supplies, determine where you are going to hang your ribbons, I wanted to display mine over a window near our dining room table. You could keep them all even in length, or vary the lengths to have more of a shamrock-raindrop feel. I measured mine out at 18 inch, 22 inch, and 26 inch. I made sure I had enough leftover at the ribbon top to make a loop over the curtain rod.
As I mentioned above, you may be awesome at drawing or sketching and can create a rocking shamrock all on your own…
I’m not quite that lucky.
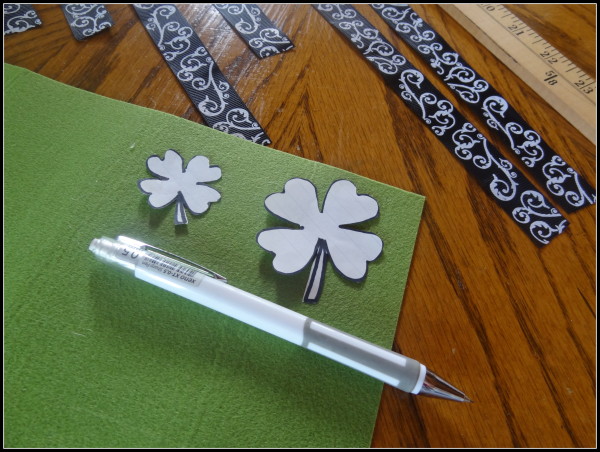
Here were my attempts:
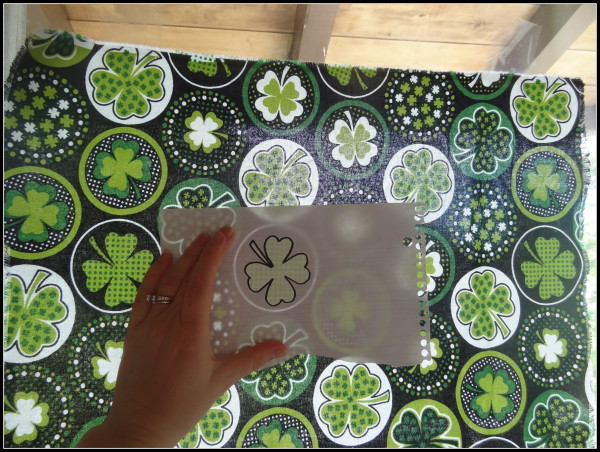
The WINNER came from a yardage of fabric I taped up to a window to trace! You can easily find an image online to print out and trace for yourself. I kept the stem because I thought it was nice, but make your shamrocks to your liking.
I created a small and large shamrock pattern and then cut them out of my tracing paper to utilize as a pattern.
I did not love how the little shamrocks ended up looking with the felt, so I discarded those and kept going with the bigger version, which ended up being 1 1/2 inches wide.
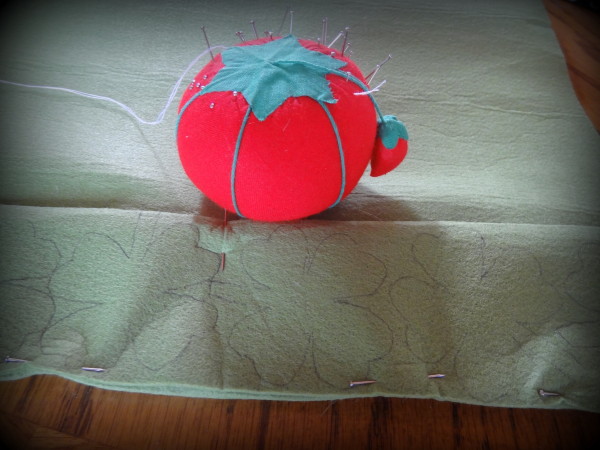
Trace your pattern onto your felt with a pencil. Then, fold the felt 2 x over and pin the shamrocks down individually. Get to snipping! This is the longest part of this project, so sit back, relax, and work those scissors.
My felt sheet produced 42 large shamrocks in all!
I then laid out the shamrocks as follows:
- 18 inch: 3
- 22 inch: 5
- 26 inch: 7
- I had some leftover, so I made three more ribbon strands to hang elsewhere in my home, with 4 more shamrocks a piece
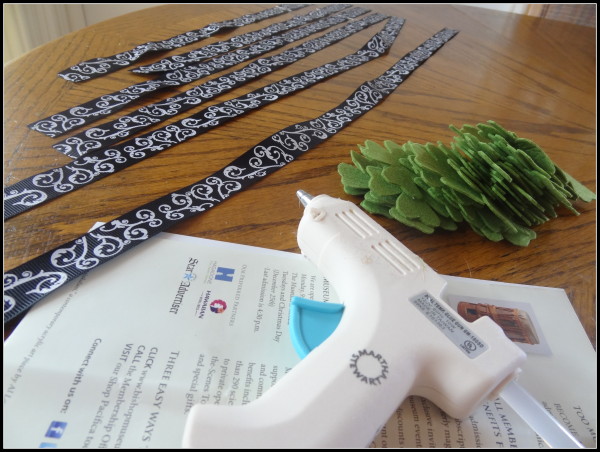
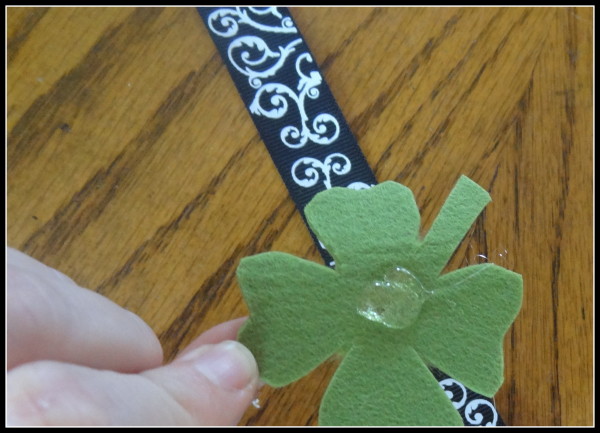
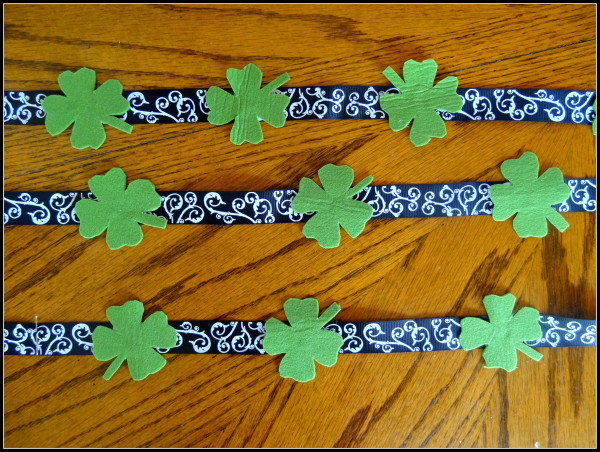
Heat up your glue gun to hot, and then put a small dollop of glue on the shamrocks and push them onto the ribbon, one by one.
I did not measure specifically between the shamrocks, I just placed them where they felt natural to my eye.
You can have them all going the same direction, or mix up the placement as I did:
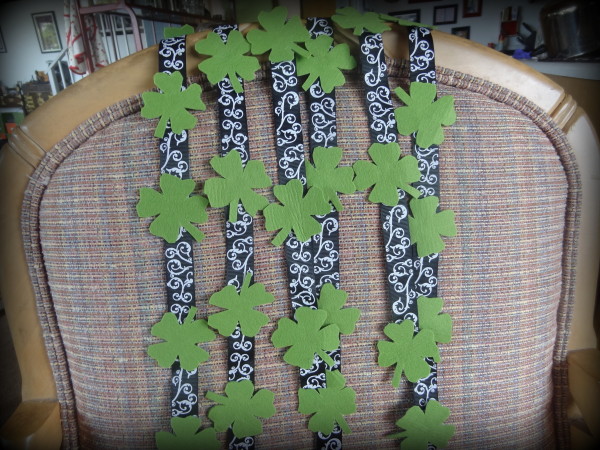
A bundle of green, ready to go up!
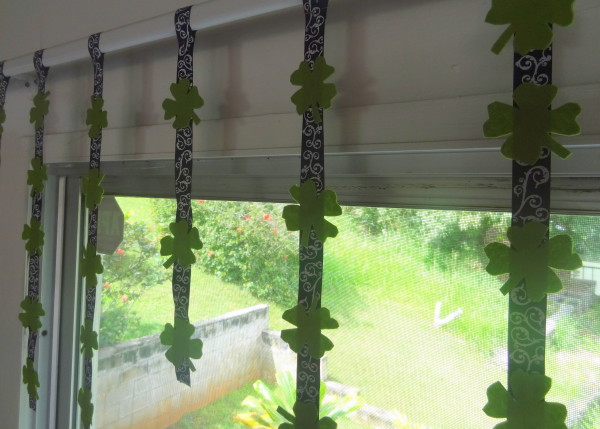
I pinned the ribbons to my curtain rod utilizing straight sewing pins.
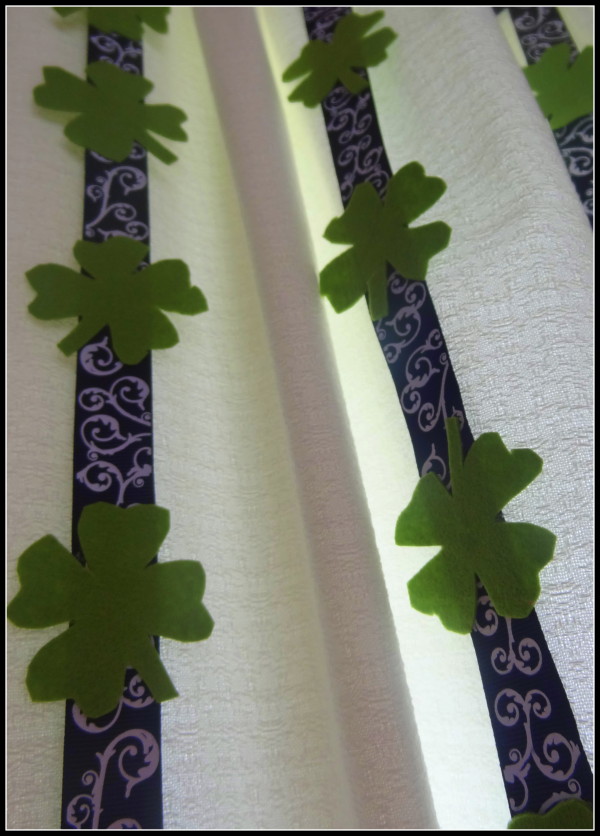
Hanging happily:
I live in a very warm climate, as you can see from all our Hawaiian island green outside at this time of year. My curtains are open constantly on this side of the house, so pinning to the rod suited me fine. However perhaps you might want to pin yours to your curtain? Or tie them to a branch you bring in from outside and display them that way?! Perhaps you shall adorn a winding staircase in your home, or over your bathroom mirror? Oh the possibilities!
Wherever you may place them, these little Shamrock Ribbons will put just the right amount of St. Patty’s Day green into your holiday decor. May you have a little luck of the Irish this upcoming month of March!
Thank you for reading!
The possibility of ADVENTURE in every day, Lindsay from simply2suitcases.com



This is so cute!!!