I am super excited to be sharing this tutorial with you today. I hope you like it! This is originally a guest post I created in the beginning of last year, however it is no longer available on that blog so I wanted to share the tutorial here. I will try my best to recreate this post, however it is over a year and a half since I made it. If you have any questions please don’t hesitate to ask them in the comment section.
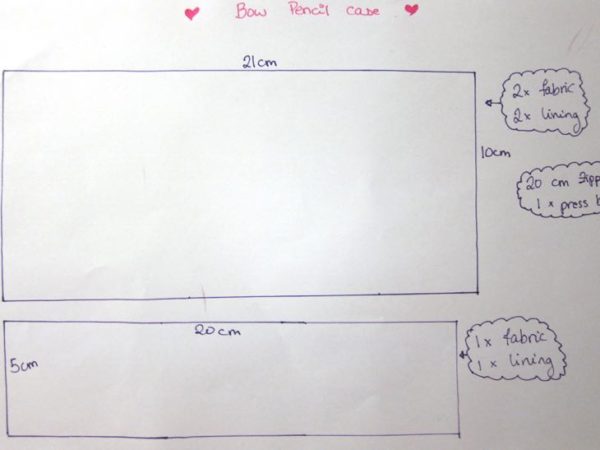
Here are the measurements I used. You can of course tailor this to your own needs.
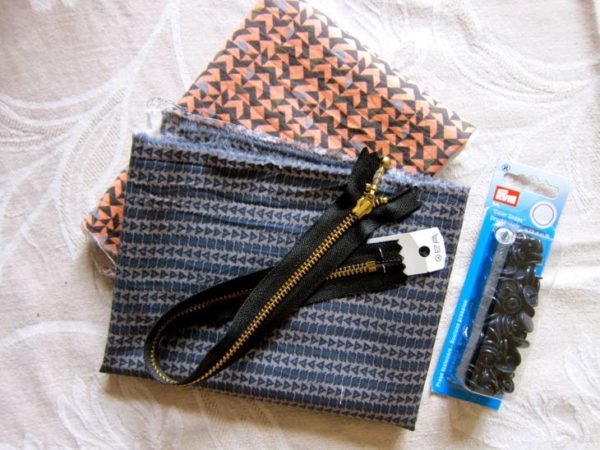
I used the following two fabrics, the colourful one is my main fabric and the blue/grey is my lining. I also added some fabric stiffener, but this is completely optional.
- Optional: iron on fabric stiffener on smallest piece of fabric.
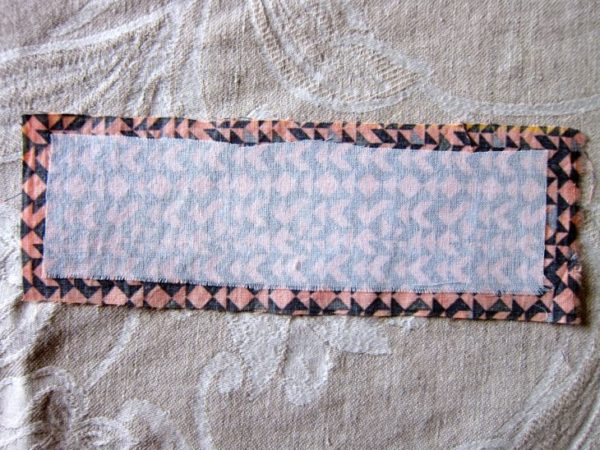
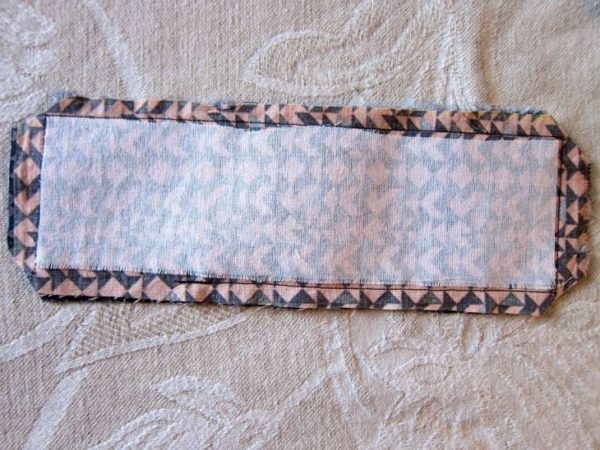
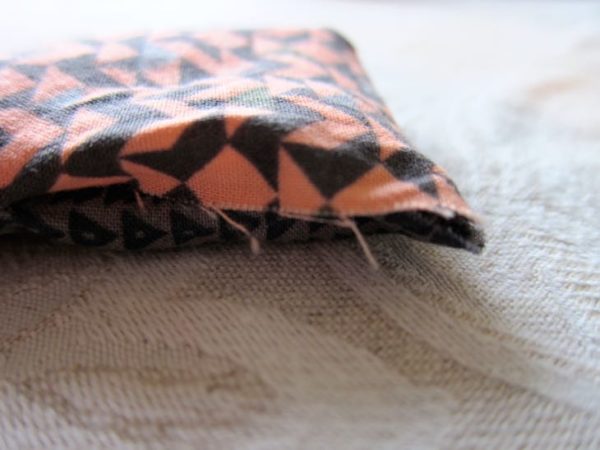
- Pin lining to fabric, sew around (leave a small gap to turn inside out) and cut the corners.
- Turn inside out.
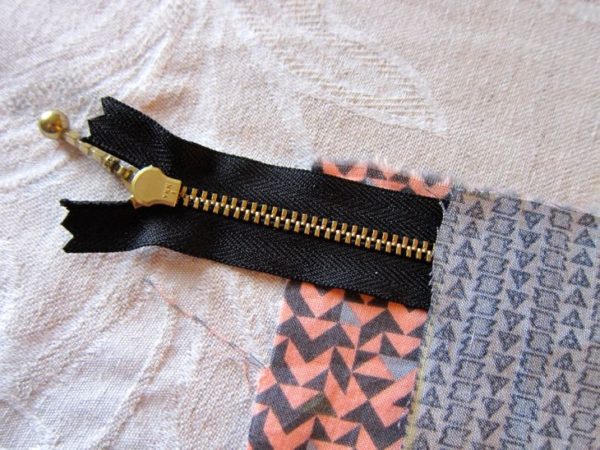
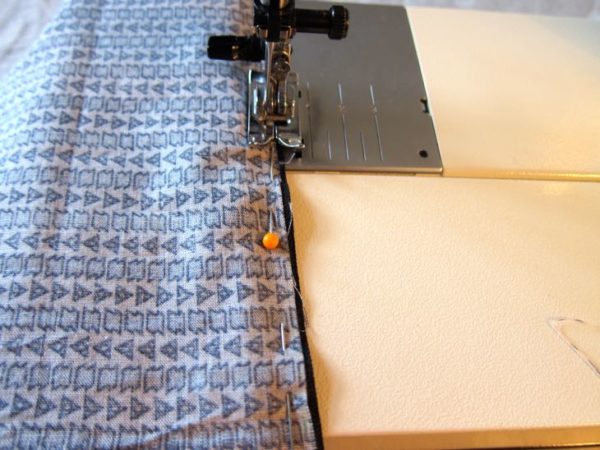
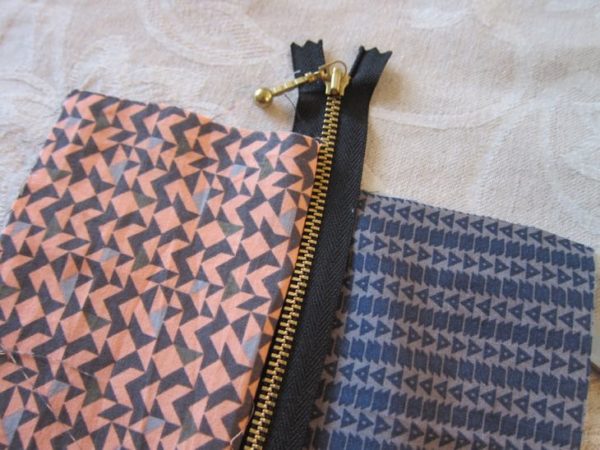
- Take your other pieces of fabric and the zipper. Place them as shown below and sew.
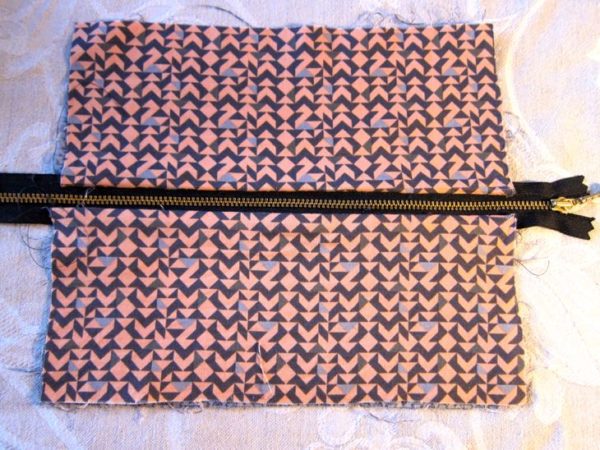
- Do the same on the other side, but here add the smaller fabric in the middle on the outer fabric sides. I forgot the part so I had to open the seam and add it after.
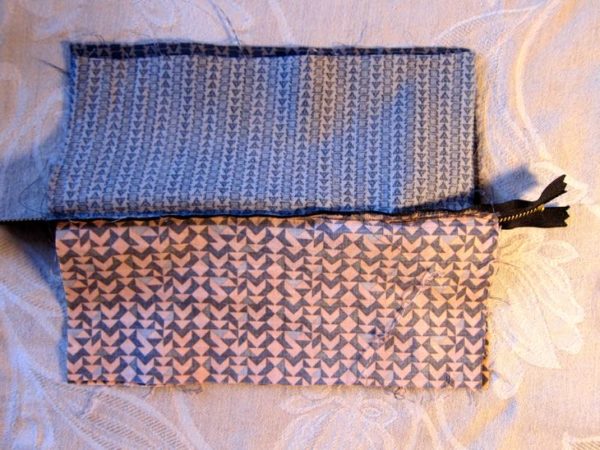
- Place the fabric so that the right sides of the fabric are facing each other and the right sides of the lining are facing each other. Leave a small opening in the lining for turning it inside out. Make sure the zipper is open.
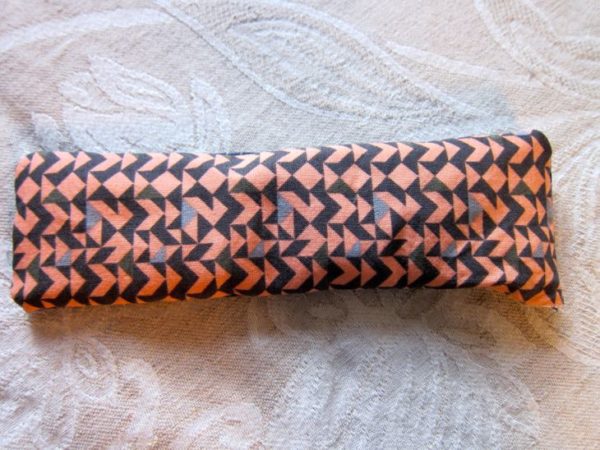
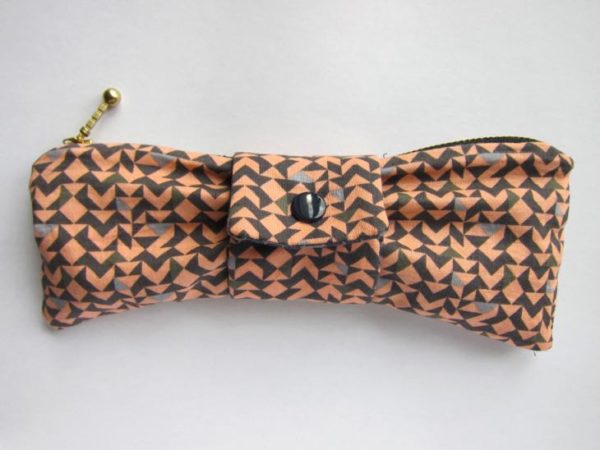
- Turn it inside out. Add a press button as desired.






I would love if you left me a comment :)