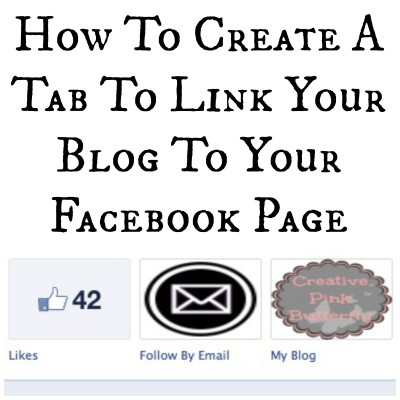
Todays tutorial is about how to create a Facebook Page Tab to link to your blog (For Dummies). It takes a few minutes to do, is super easy and it makes it easier for your Facebook fans to visit your blog page.
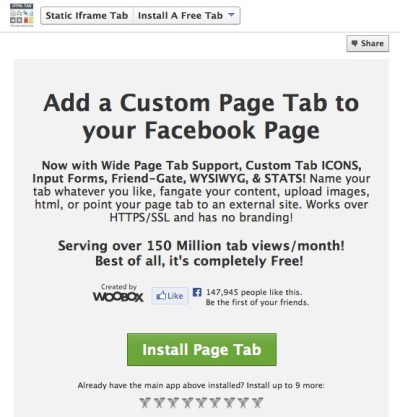
First you have to click on this link to come to the page below.
Click Install Page Tab.
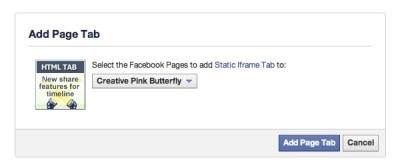
Find the Facebook page you want your tab to be in and click Add Page Tab.
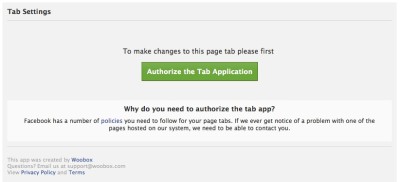
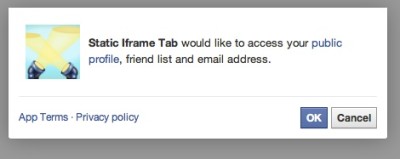
Click Authorize the Tab Application.
Click Ok.
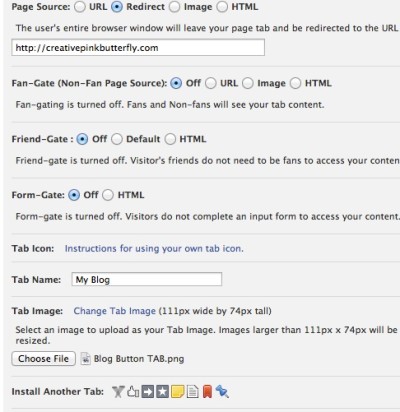
This box arrives. Change page source to Redirect. Add your URL, change Tab Name and add a photo. Click Save
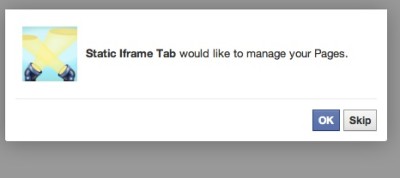
Click Grant Permission.
Click OK.
Voila! Super easy!
If you want to add more tabs, such as Pinterest, Instagram, Twitter, YouTube, whatever. You can simply log onto Woobox.com and add from there, or you could just do the whole process over again.



Thanks so much! I’ve been wondering how to do this!
I am so happy I am able to help you 🙂 If you have any questions dont hesitate to ask 🙂
I just got the like button on it yesterday and was trying to figure how to link the fan page to it checking out your article and giving it a try thank you following by email.
Hope it worked 🙂