Today is a gust post by Nadya. Hope you liked it as much as I did.
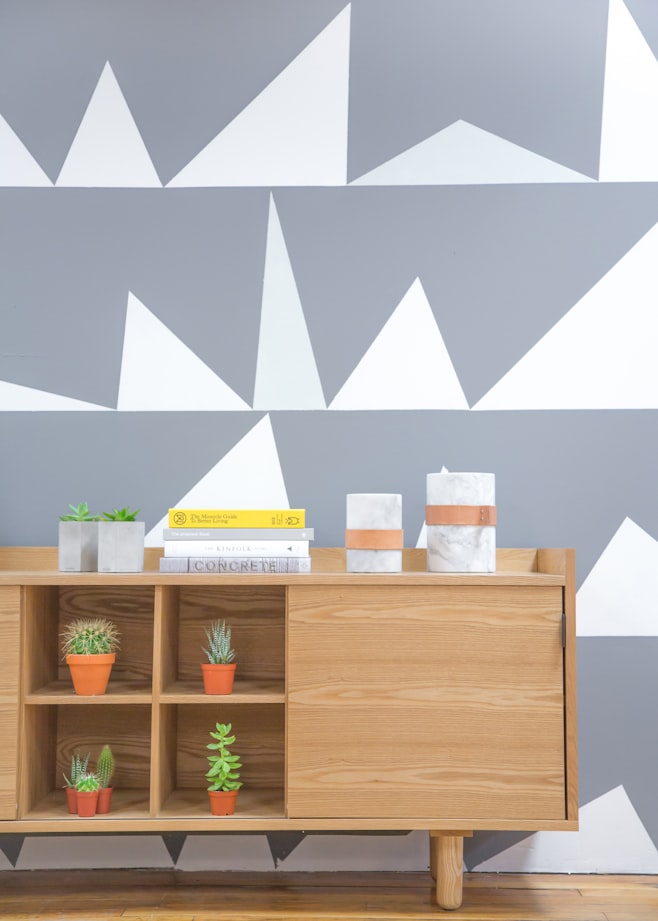
Among my friends I’ve noticed that wallpaper has been going through something of a renaissance recently. When you’ve lived with perfectly plain, painted walls, in tasteful neutrals for long enough you start to crave a little color and pattern. This isn’t your Grandma’s wallpaper though, forget the fussy florals and dark geometric inspired designs from the seventies and eighties. Allen Roth wallpaper includes some gorgeous subtle designs that will bring just the right touch of shine and pattern to your home, just like the beautiful bird paper that Trine used in her bedroom makeover.
If you’ve never tackled wallpaper before, it can seem a little daunting so I wanted to take a few minutes to pass on my tips for no-fuss wallpaper hanging, whether you’re papering a whole room or picking out a feature wall in a stunning design.
What You’ll Need
The tools you’ll need depend upon the type of paper you choose (pre-pasted or unpasted) and, to a certain extent, personal preference.
For all paper types
- Spackle and sandpaper (for repairing any holes in the wall)
- Wallpaper
- Cutting/pasting table (a long kitchen island, or a clear section of the floor may also work)
- Utility knife
- Scissors
- Spirit level
- Straight edge/ruler
- Measuring tape
- Pencil
- PVA glue
- Bucket
- Stepladder
- Screwdriver
- Soft cloth/brushes/smoother/roller (all of these will work for smoothing the wallpaper, choose what seems good to you. I use an old hand towel)
- Small paintbrush
- Plastic drop sheets
- Cloth and bowl (for general clean-up)
For prepasted paper
- Shallow bowl or tray approximately 25” x 25”
For unpasted paper
- Wallpaper paste
- Pasting brush/roller
Step 1 – Pick your wallpaper
The first thing to know is that wallpaper comes in two main types. If it’s unpasted you’ll have to add paste either to the back of the paper or to the wall (depending on the type of paper). If it’s prepasted, you’ll need to soak the paper in water before you can apply it. There are pros and cons to both types so just pick the one with the pattern you like and follow my step-by-step guide to put it up.
Pro Tip – wallpapers that have a white border down each side of the pattern (known as a selvage edge) are more difficult to hang – pick one with a pattern that goes all the way to the edge.
Step 2 – Prepare your walls
- Wallcoverings.org says that “the most important part of the wallpaper job is to make sure the wall surface is properly prepared”. Remove previous wallpaper and patch any holes.
- Protect floors with plastic sheets.
- Half fill a bucket with water and half with PVA. Apply the mixture to the walls with a brush/roller and let it dry completely. This step is known as “sizing”. Don’t be tempted to skip this step as this will help your wallpaper to stick properly.
Step 3 – Measure your walls
- As most rooms are slightly uneven, hold the spirit level vertically against the wall and, using the edge of the level, draw a selection of vertical lines at regular points along the wall. You’ll use these lines as a guide to make sure your wallpaper goes up straight.
Pro Tip – most guides will suggest you use a plumb line for this step but I find a spirit level works just as well and is easier to use.
- Using one of these vertical lines as a guide, measure the distance from floor to ceiling on the wall. Add four inches to your measurement – 2” for the top and 2” for the bottom. This is the minimum length for each piece of paper you will cut.
Step 4 – Cut your paper
- Unroll your wallpaper on your table and cut the first piece to the right length. Number this piece with a “1” by writing in pencil lightly on the plain side of the paper. Lay the cut piece pattern-side up on the table and weight the corners down so it stays flat.
- Before cutting the next strip, unroll the rolled paper next to your first strip pattern-side up. Move the paper up and down until you get a match. Measure 2” above that point and then cut. Label this piece with a “2” as above.
Pro Tip – Patterned papers repeat their patterns at a set interval. Marthastewart.com advises wallpaper novices to choose a paper with a small overall pattern as this is easier to match. If you do choose a wallpaper with a large pattern repeat, consider buying an extra roll of wallpaper to ensure you have enough. Check out this video from World of Nilaya to learn more about pattern-matching.
- Repeat, numbering each strip, until you have four or five strips cut and ready to hang. Put the last strip you cut to one side as this will be your guide for the next group of strips you cut.
Pro Tip – I know it’s tempting to go ahead and cut all your paper at the start. However, if you make a mistake in your cutting, pattern-matching or hanging and have to scrap a strip or two (it happens!) you might have to recut all those strips again. Much safer to just cut a few at a time.
Step 5 – Soak or paste
Method A: Prepasted paper
- Now “concertina” each strip separately. You need to make a stack about 20” wide by loosely folding the paper back and forth.
Pro Tip – keep the folds soft and rounded and avoid creating horizontal creases.
- Fill a shallow bowl or tray with water and place the first strip in the water. Soak the strip for the time stated in the manufacturer’s instructions.
Method B: Unpasted paper – paste the paper type
- Mix up the wallpaper paste in a bucket following the manufacturer’s instructions.
Pro Tip – the paste should look like thick liquid without lumps. The thicker your wallpaper, the thicker the paste needs to be.
Image credit: Hannah’s Treasures
- Lay the first strip of paper on the pasting table pattern-side down. Weight the corners to keep it flat.
- Apply the paste to the paper using either a brush or roller.
- Now you need to “book” the paper. Take the ends of the paper and fold them gently into the middle of the paper strip lining up the sides neatly. The pasted side will now be fully hidden inside the patterned side. Follow the manufacturer’s instructions, allowing the paste to soak in for the correct amount of time.

Image credit: CelebratingEverydayLife.com
Method C: Unpasted paper – paste the wall type
- Mix up the wallpaper paste in a bucket, following the manufacturer’s instructions.
- Concertina the unpasted paper as in Method A: Step 1.
- Apply the paste to the area of the wall that will be covered by that strip of paper using either a brush or roller.
Step 6 – Hang the paper
- If you are papering a feature area such as a chimney breast, start by centering your first paper strip in the middle of the feature area. If you’re doing a whole room, com suggests starting behind a door so the final pattern join is inconspicuous.
Pro Tip – It’s not a good idea to start the first strip directly in a corner because corners are often not straight. It will be better to wrap around or trim to fit the corner than use it as your starting point.
- Pick up the paper (very carefully), go up the stepladder and hold the paper with the patterned side towards you about two inches above the top of the wall.
- Gradually unfold the paper down the wall, sliding it around with your hands to get it straight.
- Apply more paste with a small paintbrush to areas that are too dry to stick.
- Working out from the middle of each piece, use a soft cloth, a smoother, or a soft brush to smooth out any air bubbles. Be gentle to avoid tearing the paper.

Image credit: Blesserhouse.com
- Trim the top and bottom by scoring a line in the paper with the edge of your scissors or a ruler. Gently pull the paper away from the wall and cut along the line with scissors.
- If you have a socket or switch on the wall, first turn off the electricity to that area. Remove the socket/switch cover. Paper right over the location of the socket/switch. Feel with the tips of your fingers to find the edge of the switch/socket area. Use your utility knife to cut away the paper over the socket/switch area leaving a short overlap which will be covered up by the socket/switch cover. Here’s a great video from Instone09 that shows you exactly how to do it.
- For corners around door frames, windows, fire surrounds and so on, use the same technique as in Step 7 above. Paper over the corner and then trim away the excess. Check out this video from YouJustDoIt for a super-detailed run through.
Pro Tip – Wallpaper sometimes shrinks a little as it dries, leave a small excess when you trim to allow for this.
- Continue cutting, pasting/soaking and hanging each strip, using the numbers to ensure you hang the strips in the right order. Lay the edges of the new strip right up against the previous one, don’t overlap the strips. As you work, gently wipe off any paste that gets on the front of the wallpaper including along each seam.
Pro Tip – It’s a good idea to save your offcuts, if you make any mistakes (everyone does!), use these to fix them.
- If pasting, clean down and dry your table between each strip.
Final Words
I hope you’ve found these tips helpful and that you feel inspired to give wallpapering a try – it’s actually a really fun job and I love the way you can totally transform a room really quickly. Why not let me know how you get on with your project by posting in the comments section below?
Bio
Nadya Jones is a blogger and an entrepreneur. She is the co-founder of AllenRothHQ, a blog about home design and improvements. With her husband Brett, she writes tips and tricks they learned while renovating their house in Raleigh, North Carolina. Nadya handles the interior design. Brett implements her ideas in a cost-efficient way.
Follow her on Twitter @diy_brett.


I would love if you left me a comment :)