This is a tutorial previously shared as a guest post on another site. It is no longer available there, so I want to share it again with you. Its about a year and a half since I made this tutorial, so I will try my best to remember how I made it. If you have any questions or think anything is unclear, please let me know in the comment section.
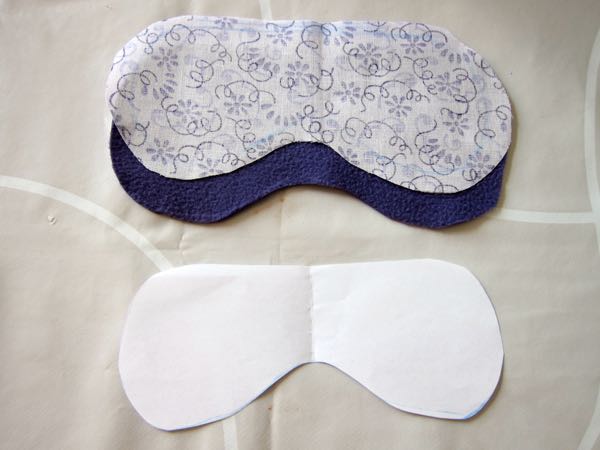
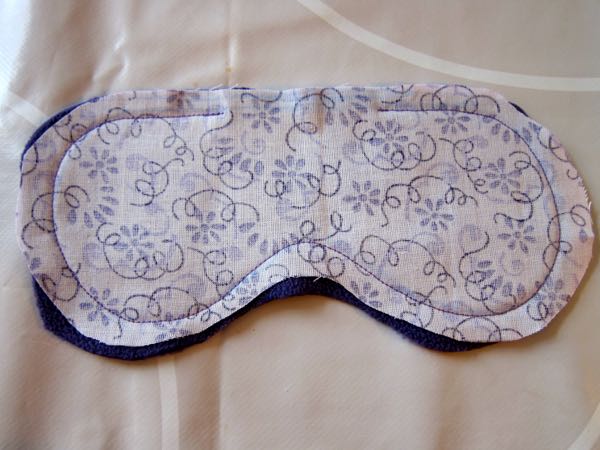
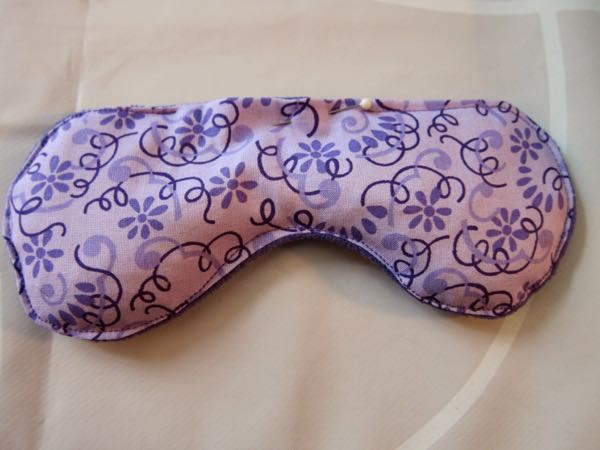
- Create a simple template with the shape you want. It should look like the first photo. Make it slightly bigger than you think you want.
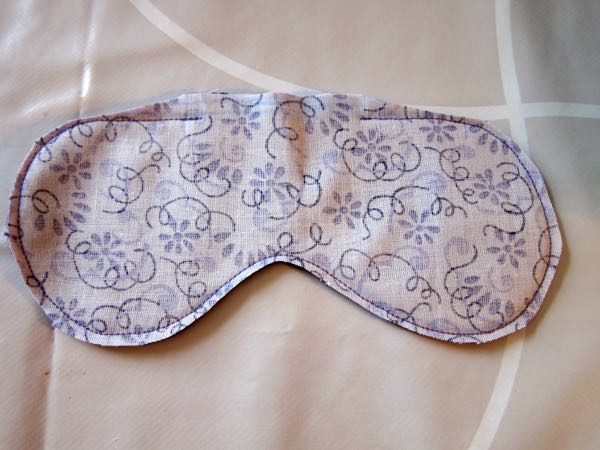
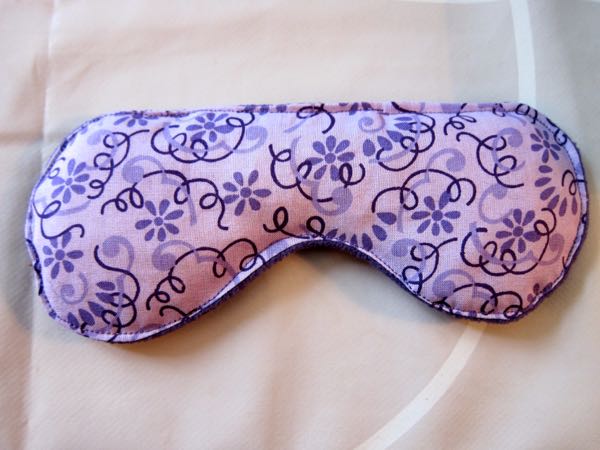
- Cut out two pieces of fabric. I choose to have one cotton and one micro-fleece. You can take two cotton sides if your prefer.
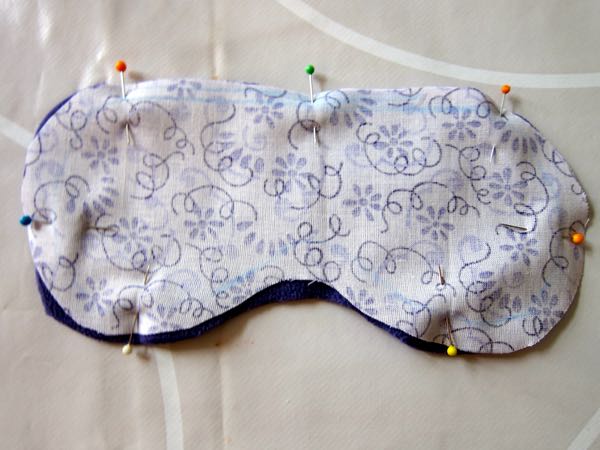
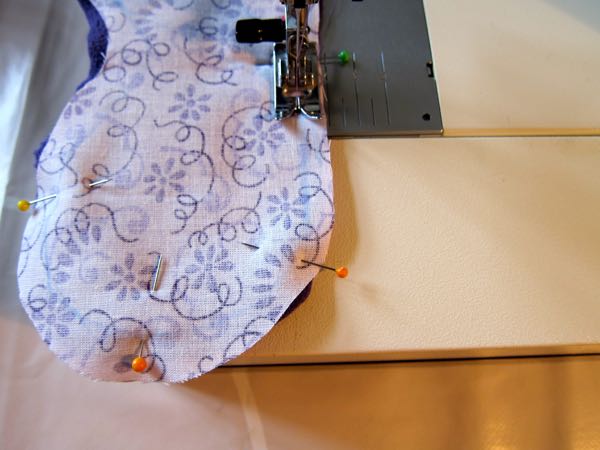
- Put the right sides together, pin and sew. Leave an opening on the top.
- Optional: cut off some of the excess fabric.
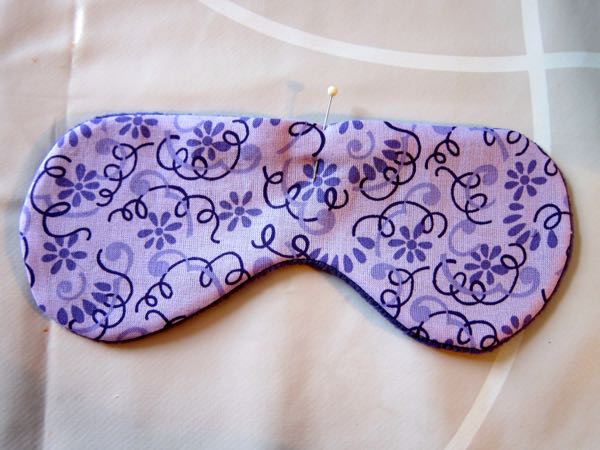
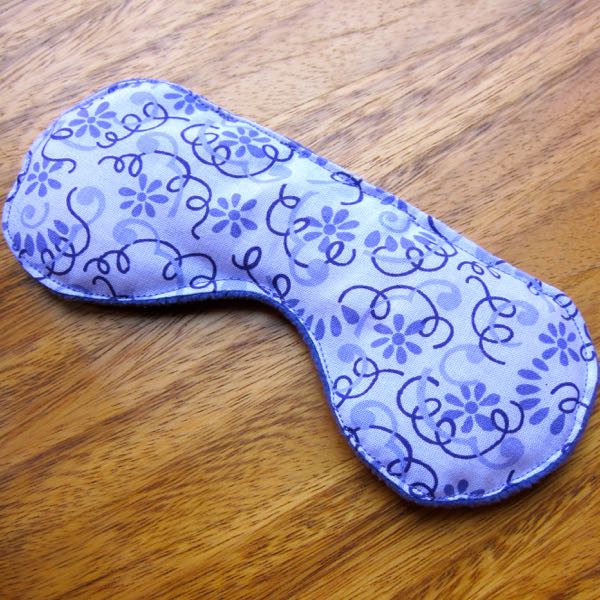
- Turn in inside out and iron it.
- Sew around it, still leaving the opening.
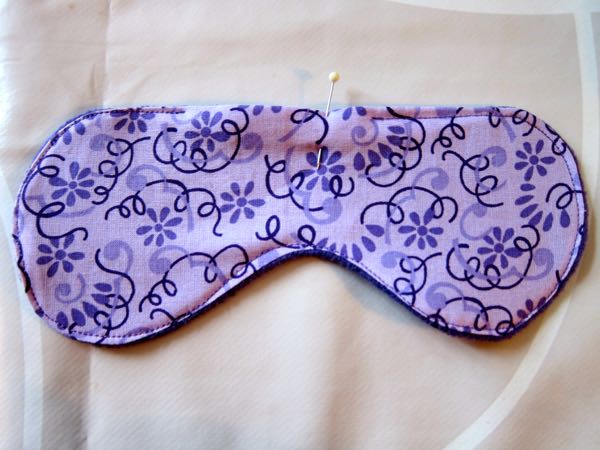
- Add rice, I do not remember how much I used but try adding an amount, pin it shut and try it.
- Sew the opening shut.
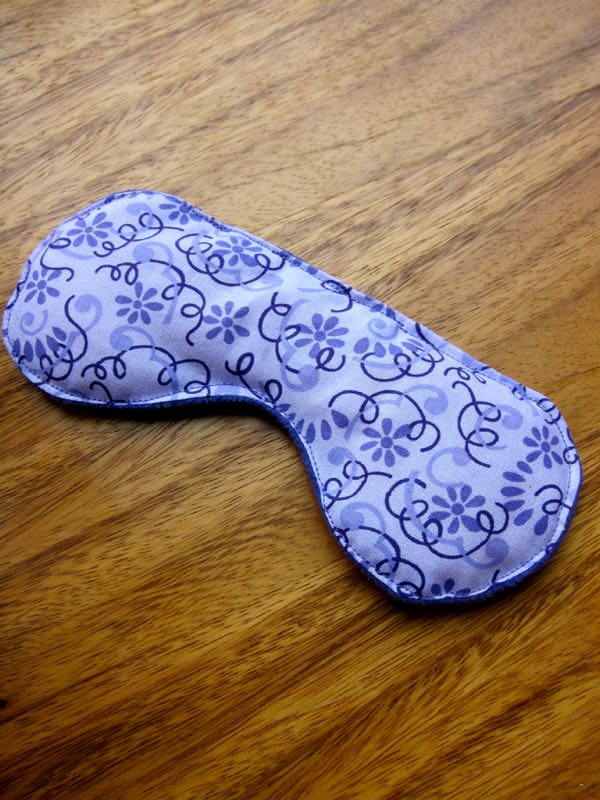
- Voila! It is now complete – keep it in the freezer for those headache days.

(Visited 55,359 time, 5 visit today)


This is a great idea. I have a “bean bag” that is filled with corn feed kernels. It is heated in the microwave and used like a heating pad. I am excied about this eye mask. Pinned it.
What a wonderful idea. I have pinned this and will let anyone I know who wants one where I got the idea from. Thanks again
Thank you for sharing this!
I love the rice bag eye mask idea. I’m going to make that by following your tutorial. Thanks for sharing.
Can this be microwaved?? Thanks!
Cotton and fleece can act as a wick and dry out your eyes. It’s better to use a satin on the eye side.